The Tools module does just what it sounds like—provides several tools for your DataSync integrations for ServiceNow.
The features available in the Tools module will help you maintain, support, and/or enhance your integration.
In order to make use of these tools, you need to install and configure DataSync for ServiceNow.
To access the Tools module, go to Perspectium > Perspectium Core > Tools.
Explore this page for all of the tools available in the module.
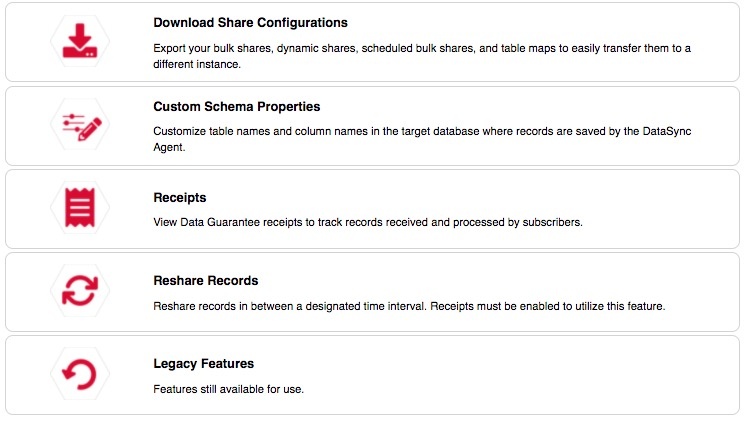
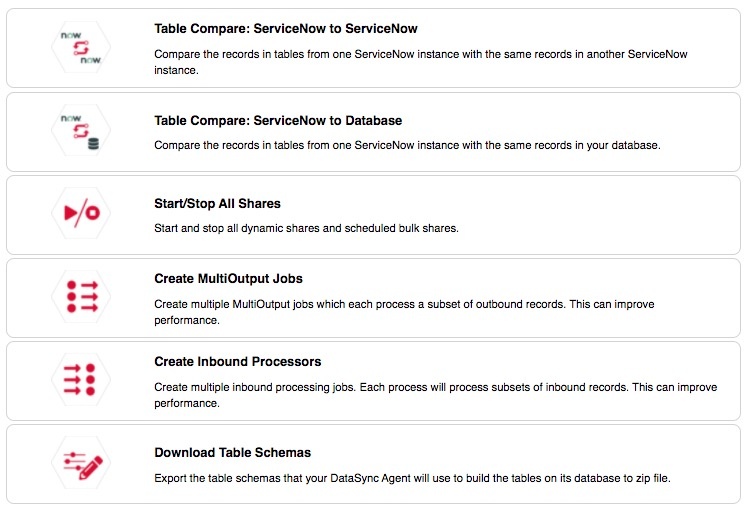
Table compare
This feature allows you to compare tables between two ServiceNow instances (or one ServiceNow instance and another integrated database). This is useful because you can see each table's record count, as well as a list of record discrepancies by sys_id between the two tables you're comparing—in other words, you can see which records exist in one table but not the other.
Please find more information on table compare, including different contexts and instructions, here.
Start/stop all shares
This feature allows you to stop or re-start your dynamic shares and scheduled bulk shares.
To do so, go to Perspectium > Perspectium Core > Tools > Start/Stop All Shares.
The page lists exactly what actions will be taken from either Stopping or Starting All Shares.
Multiple MultiOutput Jobs
The core concept behind Multiple MultiOutput Jobs is the ability to have multiple jobs responsible for their unique subset of outbound messages. This is useful if you are sending a high volume of messages to a single queue or spreading your messages across a high volume of queues.
Typically, outbound messages are sent out by a single job—Perspectium MultiOutput Processing—which goes to your outbound messages table and sends out the messages per queue. This process is sufficient to cover most cases for sending outbound messages. However, for high volumes, multiple MultiOutput jobs works by passing in an encoded query to the MultiOutput job in order to limit the scope of these jobs.
Before getting started with this, we recommend that you take a quick look at the Perspectium MultiOutput Processing job (at Perspectium > Control and Configuration > All Scheduled Jobs) to familiarize yourself with it and contact support@perspectium.com to validate your work if necessary.
You can create MultiOutput jobs via the Tools module, or manually.
Create MultiOutput jobs via the Tools module
- In your ServiceNow instance, go to Perspectium > Perspectium Core > Tools. Then, click on Create MultiOutput Jobs.
- Use the Job Type dropdown to select which type of job you want:
Click the Job Type dropdown and select which type you want:
Type
Description
Multioutput processing by sys_id Jobs will be created through a query of sys_id of outbound messages.
 NOTE: This method create jobs that query off the sys_id of the outbound message itself and not the record that the outbound message represents. This method does not honor sequencing of messages in a queue and is only recommended if you are bulk sharing a large set of data and are not concerned about the order the messages arrive in at the target.
 Multioutput processing by outbound queue Jobs will be created based on the outbound (shared) queues so no queue will be processed in multiple jobs. For example, if you have three queues and choose 2, then one job will process one queue and the other job will process the other two queues. This approach will honor sequencing of messages in a queue.
 WARNING: If this option is selected and a new queue was created, you will need to create the jobs again.
 - Use the Number of Jobs dropdown to select the number of jobs you want to create.
- (Optional!) Check the Include attachment and audit processing jobs box to create the same number of multiple processing jobs for these tables, since attachments and audit records are processed each in their own outbound table, with their own MultiOutput job.
- Click Create.
Create MultiOutput jobs manually
This method involves cloning the Perpectium MultiOutput processing job and configuring it appropriately. Here's how:
- Go to Perspectium > Control and Configuration > All Scheduled Jobs.
- In the resulting list of all jobs, find and click into the Perspectium MultiOutput Processing job.
Multiple Inbound Processors
This feature allows for concurrently running scheduled jobs to handle a high volume of messages. By default, the Perspectium application comes with the Perspectium Replicator Subscriber scheduled job, a single job responsible for initiating the reading, consuming, and processing of messages from queues in the Integration Mesh. This process should cover most cases for receiving inbound messages, but you can enable multiple inbound processors if you are receiving a high volume of messages from a single queue or want an overall improvement in throughput.
Here's how:
- In your ServiceNow instance, go to Perspectium > Perspectium Core > Tools.Then, click on Create Inbound Processors.
- Use the Number of Jobs dropdown to select the number of jobs you want to create.
- Click Create.
Download table schemas
This tool is useful if you want to use your table schemas to build the tables in a database for a DataSync for ServiceNow integration with the DataSync Agent. This is only necessary if your Agent cannot establish a connection to the ServiceNow instance—otherwise, it will handle this automatically.
To download the table schemas for your ServiceNow instance:
- In your ServiceNow instance, go to Perspectium > Perspectium Core > Tools.
- Click Download Table Schemas.
That's it! This will output a downloadable .zip file of all the table schemas as XML files, which you can then provide to the Agent. It will do this for all the tables you have defined in your Bulk Shares and Dynamic Shares, with respect to all the child tables as necessary as well.
Download share configurations
This tool is useful if you are planning to import your share configurations to another ServiceNow instance. It allows you to download the configurations that you have set for your ServiceNow dynamic shares, bulk shares, scheduled bulk shares, and table maps.
- In your ServiceNow instance, go to Perspectium > Perspectium Core > Tools.
- Click Download Share Configurations.
- Check the boxes according to the type of configurations you want to download.
- Click Download.
Custom schema properties
This tool allows you to customize the table names and column names in your target database by specifying custom prefixes or suffixes.
Here's how:
In your sharing ServiceNow instance, go to Perspectium > Perspectium Core > Shares > Dynamic Share or Bulk Share.
- Then, follow the steps to create a dynamic share or create a bulk share OR find and select the share you want to configure.
- In the dynamic share or bulk share page, in the Miscellaneous tab, check the Advanced box. This will reveal an Advanced tab (if the tab is already present then skip to step 4).
- In the Advanced tab, check the Use Custom Table Name and/or the Use Custom Column Name box.
By default, the _dv tag is added in front of the reference field name. To include the _dv tag after the reference field name, check the Change to DV Tag Suffix box. In order to use the Dv tag suffix, you need to enable it by going to Perspectium > Control and Configuration > Properties > DataSync Settings and checking the box labelled Enable DataSync to add display value fields for reference and choice fields (prefixed with 'dv_' by default). - Now, go to Perspectium > Perspectium Core > Tools > Custom Schema Properties.
- Fill out the fields appropriately:
- Use the Max Length field to enter a maximum length for the table/column name. This value will include the lengths of the table/column names, prefix, suffix, and _dv tag.
- Use the Prefix and Suffix fields to add the prefix/suffix you want before/after the table/column names.
- Note: Once configuring custom table, the main table will always have the prefix.
- Note: In MySQL, to avoid reaching the maximum row size, only customize column names for existing tables in the database.
- Click Save Changes.
If you send records with a custom name, the database will create new columns for the table. If you change this custom name property after the new columns have been created, the database will create a new column and show NULL in the previously created custom column for any records sent after you change the property.
Receipts
Receipts are generated for outbound messages when you enable the data guarantee feature. Message receipts indicate the delivery status for records that you have shared out, allowing you to quickly identify successful shares, pending shares, and errors.
Access the receipts feature at Perspectium > Perspectium Core > Tools > Receipts. This will give you a list of receipts and you can click into any record to see a breakdown.
Here is the information that you get from receipts:
- Share type (bulk or dynamic) under Name
- Data encryption method under Attributes
- Unencrypted: cipher=0
- TripleDES: cipher=1
- AES-128: cipher=2
- Base64 Encoding Only: cipher=3
- AES-256: cipher=4
- Source Table and Source Record
- Shared Queue (for outbound message receipts) and/or Subscribed Queue (for inbound message receipts)
- Receipt delivery status:
Success Your records were shared out successfully
Pending The subscribing instance is still processing the records you are trying to share out
Error Your records were not shared out successfully
Explore the sections below for all features around receipts.
Turn off receipts for a dynamic share or bulk share
If you have enabled receipts globally through Data Guarantee, you may want to disable receipts for specific shares while maintaining receipts for others.
- In your sharing ServiceNow instance, go to Perspectium > Perspectium Core > Shares > Dynamic Share or Bulk Share > View Dynamic Shares or View Bulk Shares.
- Find and click into the dynamic share or bulk share that you want to configure.
- Click the the Miscellaneous tab and check the Advanced box. This will reveal a new Advanced tab (if the Advanced box wasn't already checked).
- In the Advanced tab, under Runtime Settings, check the Disable Receipts box.
- Click Update.
Delete receipts
Receipts with a Success status will be automatically deleted. To automatically delete receipts with a Pending status, you can set a property that will delete receipts older than the given timeframe. For receipts with either a Pending or Error status, they can also be deleted manually.
To delete pending receipts at a given time:
- Go to Perspectium > Control and Configuration > Properties > DataSync Settings.
- Enter your desired time value, in hours, at which you want all pending receipts to be deleted in the field that says All receipts older than this value (hours) will be deleted if all receipts in the table are in the "Pending" state. This is to prevent unused receipts from filling the table and degrading performance. The minimum value is 0.01 hours.
- Click Save.
To delete pending or error receipts manually:
- Go to Perspectium > Perspectium Core > Tools > Receipts.
- In the resulting list of receipts, select the ones that you want to delete and use the Actions on selected rows dropdown at the bottom to click Delete. Or, you can delete ALL receipt records in the list by clicking Delete All Receipts.
Customize the batch size of receipts
By default, your message receipts will be sent in batches of 1,000. This feature allows you to modify that number. Here's how:
- In your sharing ServiceNow instance, use the Filter Navigator on the left to type u_psp_properties.list and then Enter
- In the resulting page, using the Search dropdown at the top (next to New), make sure Name is selected. Then, in the adjacent search bar, type com.perspectium.receipt_batch_ack_size and then Enter.
- That property should appear at the top of the list—double click into the Value column (it should say 1000), and modify the value to reflect your desired batch size for acknowledgement receipts. Then, click the checkmark (
 ) icon.
 - Repeat step 2 and 3 for com.perspectium.receipt_batch_error_size, using the value to reflect your desired batch size for error receipts.
Limit the number of receipts created
This feature is useful to prevent unused receipts from filling your table and degrading performance. Once your instance reaches the limit that you set, receipts will no longer be created.
- In your sharing ServiceNow instance, go to Perspectium > Control and Configuration > Properties > DataSync Settings.
- Enter your desired receipt limit in the field labelled Maximum number of receipts allowed in the table. Receipts will no longer be created while at the limit.
- Click Save.
Reshare records
This tool allows you to manually reshare data using receipts from your ServiceNow instance from a time period of three days or less. This is useful for situations where records weren't all received at the target (such as an error at the database).
Here's how:
- First, go to the u_psp_properties table, search for com.perspectium.enable_receipts and set the value to true.
- Now, in your ServiceNow instance, go to Perspectium > Perspectium Core > Tools and click Reshare Records.
- Use the Start Date Time field and End Date Time field to specify the time period for which you want to reshare data. You can use the calendar icon to the right of the fields to select the date and time. Only the most current record will send out.
- Click Reshare.